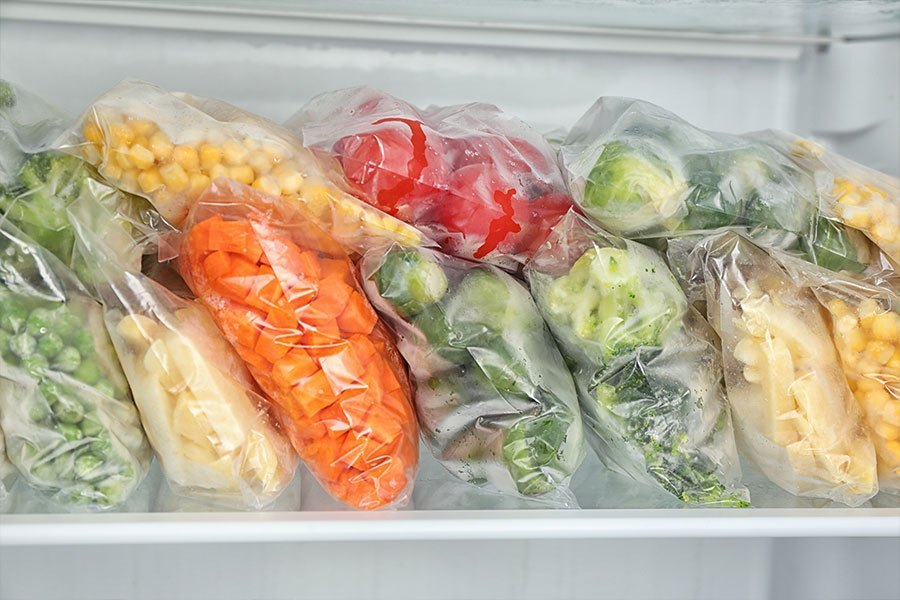
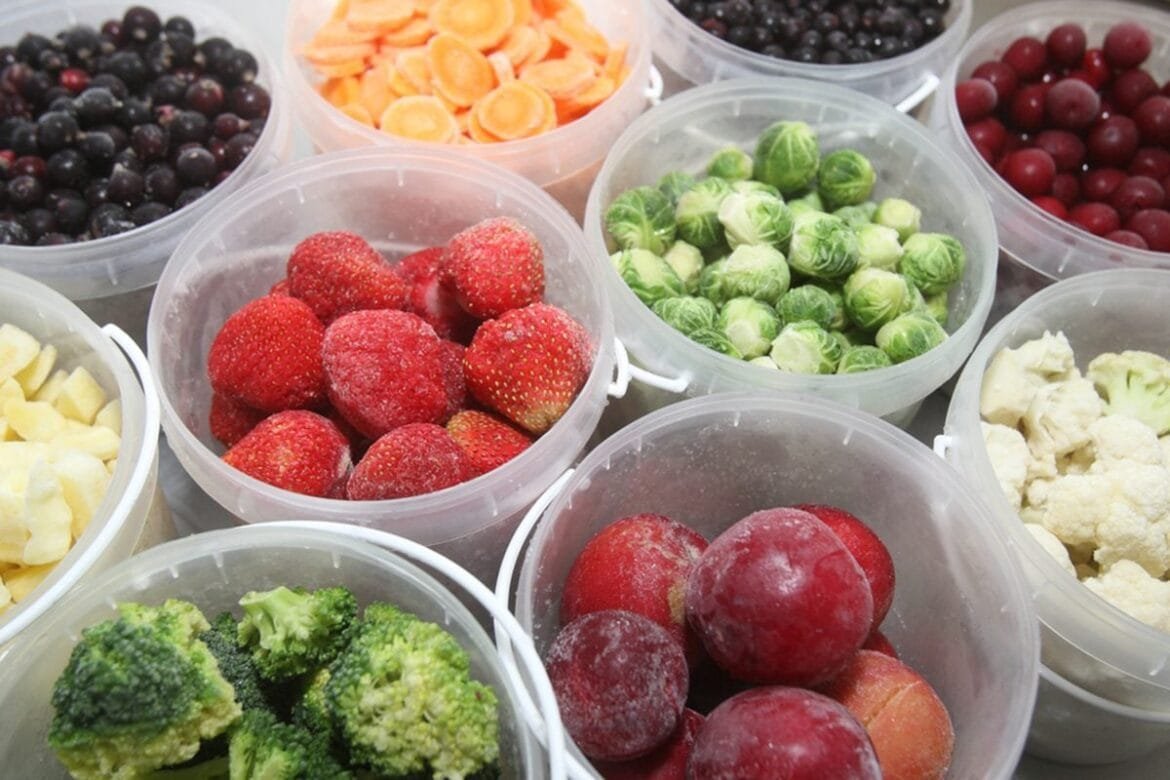
Hello, produce enthusiasts! Gino Moretti here. I own a seasonal farmer’s market and one question I love to answer is about freezing your produce. Yes, you can extend the life of your fresh fruits, veggies, and herbs, and the secret lies in your freezer! Let’s explore this cool solution together.
Transform Your Berries and Stone Fruits
Berries and stone fruits are a breeze to freeze. Wash, dry, and remove any unwanted pits or stems. Then freeze the fruit on a baking sheet before popping it into a freezer bag. Say hello to fresh fruit anytime! Here are some great hacks for removing the pits.
For Cherries:
A popular kitchen hack for removing pits from cherries involves a paper clip or a straw. Insert the end of a paper clip or straw into the stem end of the cherry and push through, popping out the pit on the other side.
For Peaches, Plums, and Nectarines:
The best way to pit these fruits is to slice around the equator, twist the halves apart, and then use a knife or your fingers to remove the pit. For stubborn pits, you can gently use a teaspoon to scoop it out.
For Avocados:
To remove the pit from an avocado, cut the fruit in half lengthwise until you feel the knife hit the pit. Then rotate the avocado around the knife. Twist and separate the two halves. Whack the knife into the pit, twist and lift it out. Be careful when removing the pit from the knife; it’s safer to push it off from the backside using a towel.
For Olives:
The quickest way to pit olives is by using a cherry or olive pitter. If you don’t have one, you can gently smash the olive with the flat side of a knife. This loosens the pit and makes it easier to remove. Want more? How to Slice and Dice the Easy Way
Capture the Green Goodness of Vegetables
The trick with vegetables is blanching, a brief dip in boiling water followed by an ice bath. This process preserves color, texture, and nutritional value. Dry them well before they head to the freezer. After they dry, place them in a single layer on a pan with parchment paper in your freezer. This helps to keep the produce from freezing together in one big clump. When frozen, transfer the individual pieces into a single freezer bag for more compact storage. Battabing! You’ve got garden-fresh veggies on demand. Here’s the proper way to blanch:
How to Blanch
Blanching is a culinary technique often used to prepare vegetables for freezing, but it’s also used to enhance the color of vegetables, remove strong flavors, and make peeling easier. Here’s a step-by-step guide to blanching vegetables:
- Prepare Your Equipment: You’ll need a large pot of boiling water, a large bowl of ice water, a slotted spoon, and a tray lined with paper towels or a clean kitchen towel.
- Prepare Your Vegetables: Clean your vegetables and cut them into uniform sizes to ensure even cooking.
- Boil: Once your pot of water is at a rolling boil, add your vegetables. The water should cover the vegetables completely.
- Cook Briefly: Allow the vegetables to cook in the boiling water for a short period. The duration depends on the type and size of the vegetable, but it’s typically between two to five minutes. The goal is not to cook them through, but to slightly soften them and bring out their vibrant color.
- Ice Bath: Use the slotted spoon to quickly remove the vegetables from the boiling water and immediately plunge them into the ice water. This “shock” stops the cooking process, helping to preserve the vegetables’ color, flavor, and nutrients.
- Dry: Once the vegetables are completely cooled, remove them from the ice bath and spread them out on the prepared tray. Pat them dry to remove any excess moisture before freezing.
Blanching may sound like a bit of extra work, but the process is quite simple and fast. It’s a valuable technique to help preserve the quality of your vegetables, whether you’re freezing them for later use or preparing them for a special dish.
Keep the Flavor Fresh with Herbs
Herbs might surprise you! While freezing alters their texture, the flavor stays fresh. Clean, dry, and chop your herbs. For best results, freeze the fruit in a single layer on a baking sheet before transferring to a freezer bag or container. This prevents the fruits from sticking together and allows you to remove just what you need from the freezer at a time. Another way is to freeze them in ice cube trays filled with water or oil. Now you’ve got flavor bombs ready for your next culinary adventure!
Savor Leafy Greens Longer
Your leafy greens can also join the freezing party. Blanch them just like other veggies, pat dry, and off to the freezer they go. Whether in a cooked dish or a smoothie, you’ll appreciate the preserved freshness.
While freezing is an excellent method to prolong the life of many foods, there are indeed some items that don’t freeze or thaw well due to their high moisture content or delicate textures. Here are a few examples:
What Not to Freeze
Certain fresh vegetables and fruits don’t respond well to freezing, particularly those with high water content. Examples include cucumbers, lettuce, tomatoes, celery, radishes, sprouts, melons citrus fruits. They tend to become mushy and lose their crisp texture upon thawing.
The Checkout
Freezing not only extends the life of your produce but also locks in its peak ripeness. So, with a little bit of prep, you’ll have the freshest, most delicious fruits, vegetables, and herbs at your fingertips, ready to turn any meal into a culinary masterpiece. Happy freezing!
As my grandmother used to say, with her Italian accent while pinching my cheek: “So, remember, cara mia, the freezer, she is your amica, your friend. Use her wisely, eh? And you always have the seasons at your fingertips, even when it’s a cold and gray outside. That’s a little wisdom from your Nonna. Now, go and enjoy the fruits of your labor!“

Luigi (Gino) Moretti: Guest Author

