Congratulations
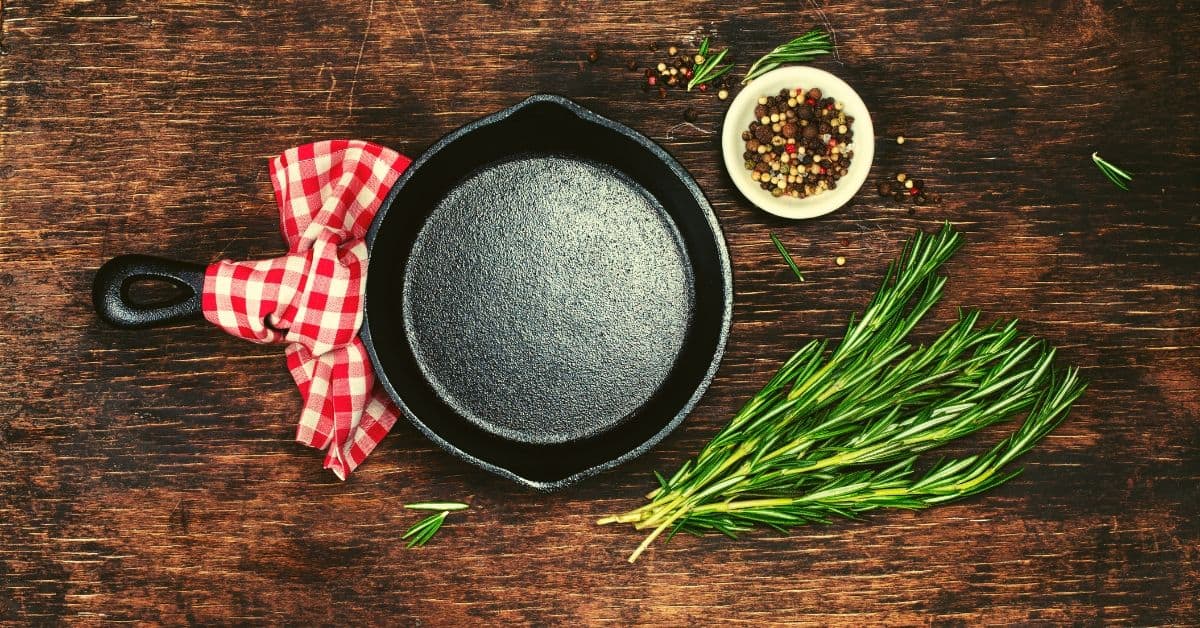
You have just a made a purchase that should last you 40 years and beyond. Notice that the surface is rough or coarse. The skillet will turn smooth with continued use over time. Iron skillets have long been cherished by home cooks and professional chefs alike for their durability, even heat distribution, and ability to develop a non-stick surface with proper care. Even though your skillet comes advertised as “pre-seasoned” it still has to be seasoned at home before the first use. Seasoning your iron skillet for the first time is essential to creating that protective non-stick surface, which not only prevents food from sticking but also guards against rust. In this blog post, we’ll explore three different methods to season your new iron skillet to help you choose the best one for your needs.
Method 1:
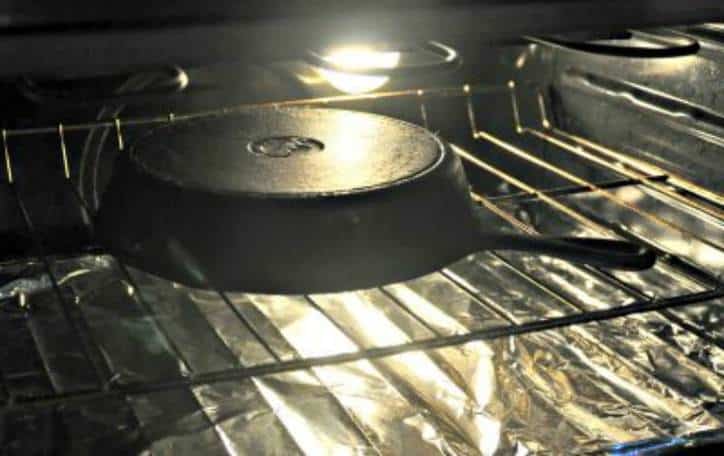
Oven Seasoning. Oven seasoning is a popular method for seasoning iron skillets because it allows for an even distribution of heat and oil, which leads to a more consistent seasoning layer. This method is ideal if you have an oven that can reach high temperatures and want a hands-off approach.
- Preparing Your Skillet: Before you begin seasoning, thoroughly wash your iron skillet with warm, soapy water to remove any factory residues or dirt. This will be the first and last time you ever use soap and water on it. Dry it completely with a towel, then heat it on the stovetop over low heat for a few minutes to ensure all moisture evaporates.
- Applying Oil: Choose a high smoke point oil like flaxseed oil, vegetable oil, or canola oil, and apply a thin layer to the entire skillet, including the handle and exterior. Use a paper towel or cloth to spread the oil evenly, being sure to remove any excess.
- Oven Seasoning Process: Preheat your oven to 450°F (232°C) and place the skillet upside down on the middle rack. Placing it upside will prevent any pooling of excess oil as the oil expands with heat. Be sure to put a sheet of aluminum foil or a baking sheet on the rack below to catch any oil drips. Bake the skillet for 1 hour, then turn off the oven and let it cool inside for at least another hour before removing it.
- Repeating the Process: For the best results, repeat steps 2 and 3 at least two more times to build a durable and even seasoning layer.
Method 2:
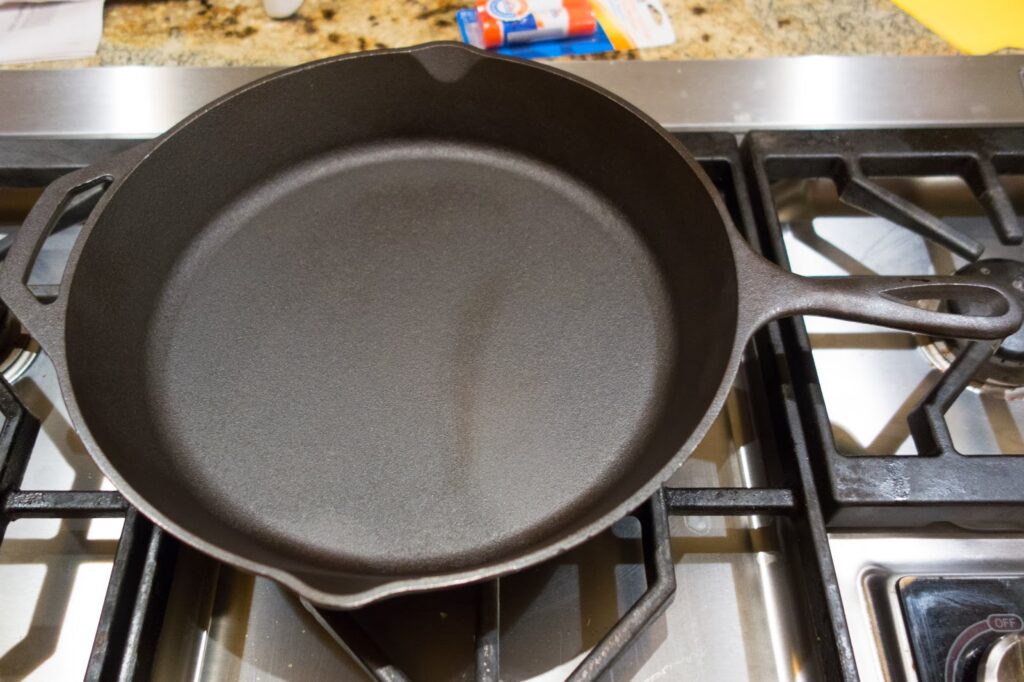
Stovetop Seasoning: Stovetop seasoning is a quicker method that’s perfect for those without access to an oven or who prefer a more hands-on approach.
- Preparing Your Skillet: Wash and dry your skillet as described in Method 1.
- Applying Oil: Apply a thin layer of oil to the entire skillet using a high smoke point oil, just as in Method 1.
- Stovetop Seasoning: Process Heat the skillet over medium heat on the stovetop until it begins to smoke. Allow it to smoke for a few minutes, then remove it from the heat and let it cool.
- Repeating the Process: Repeat steps 2 and 3 at least three more times to develop a strong seasoning layer.
Method 3 of Seasoning Your Iron Skillet for the First Time:
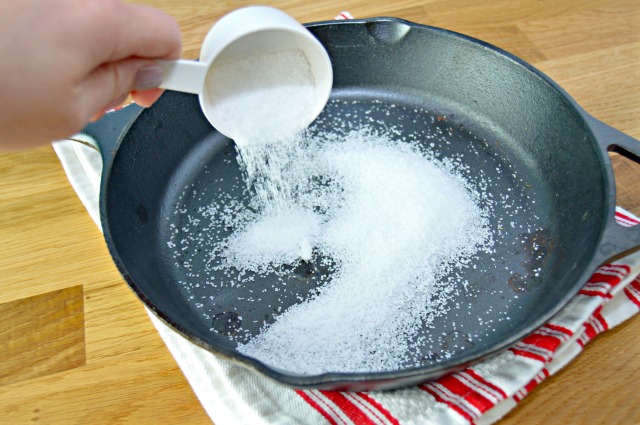
Salt Seasoning: Salt seasoning is an alternative method that uses salt to help create a non-stick surface on your skillet. This method is suitable for those who prefer using natural ingredients.
- Preparing Your Skillet: Wash and dry your skillet as described in Method 1.
- Salt Seasoning Process: Cover the bottom of the skillet with a layer of coarse kosher salt. Heat the skillet over medium heat for 10 minutes, then remove from heat and let it cool completely.
- After the skillet has cooled, discard the salt. Apply a thin layer of oil as described in the previous methods.
- Repeating the Process: Repeat steps 2 and 3 at least three more times to create a well-seasoned surface.
Each of these methods offers a different approach to seasoning your iron skillet for the first time. Choose the one that best suits your needs and preferences, and you’ll be on your way to enjoying the many benefits of cooking with a well-seasoned iron skillet. With proper care and regular re-seasoning, your skillet will only improve with age, developing a beautifully non-stick surface that will make cooking a pleasure for years to come.

